Christmas Ornaments You Can Make
Things you will need
1. Ornaments (any shape or size you want)
2. Craft paper
3. Mod Podge
4. Paint Brush (wide flat end)
5. Exacto Knife
6. A good pair of scissors
7. Needle nose pliers (for craft wire)
Sandpaper (I used 150 grit)
Black Sharpie (wide tip works best)
Twine or aluminum craft wire (12g)
Colored Beads (optional)
Instructions
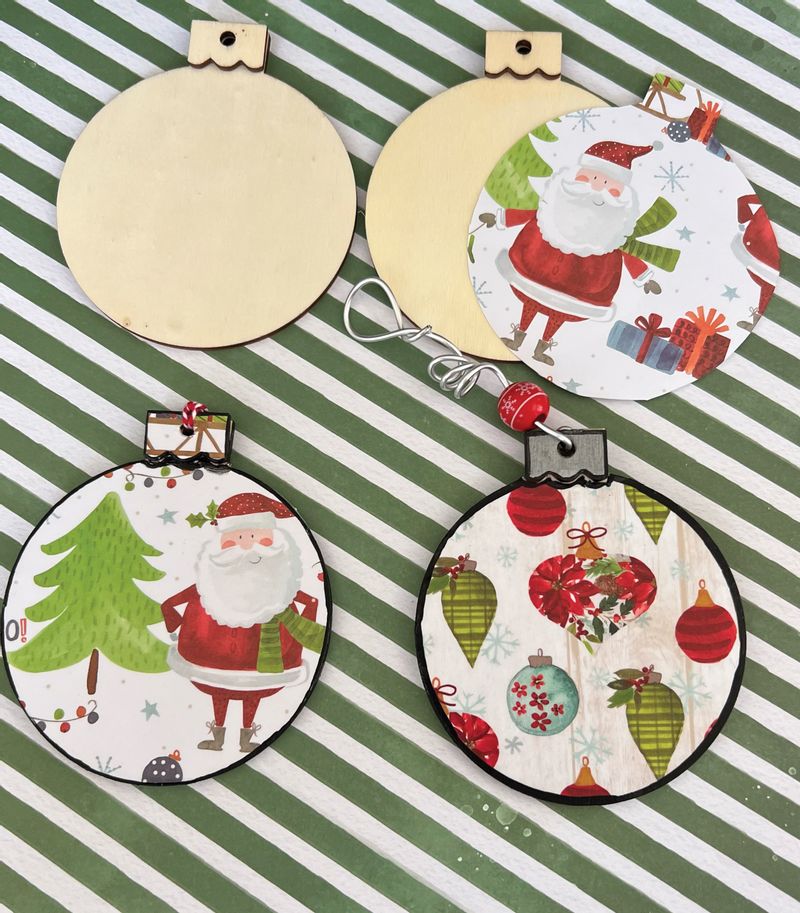
1. Lay ornament down on the craft paper and use your exacto knife to cut around the shape of the ornament. It does not have to be perfect but get it as close to the edges as you can.
2. Paint a thin layer of Mod Podge onto the ornament and place the cut out craft paper. Make sure you smooth out all the wrinkles. Let it dry.
3. Take your sand paper and go around the edges of the ornament just to smooth everything out and make it flush with the sides.
4. Apply another thin layer of Mod Podge and let dry. After it has dried, take your sharpie and draw a thin black line around the edges of the ornament (this is optional but to me it just it more finished look). You can add another coat of Mod Podge after the sharpie if you choose - the more you add the better protected it will be! Let dry.
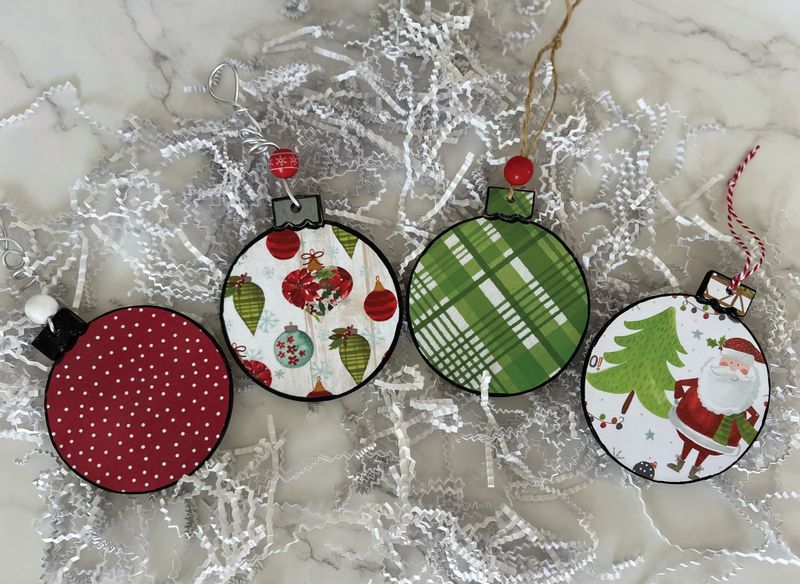
5. After everything has dried, choose how you want to hang your ornament. This can be totally customizable depending on your style. If you like a more simple look, just tie a piece of twine with a loop. If you like a more whimsical look, cut a piece of wire about 4 to 5 inches long, twist and bend it with your pliers until you reach your desired look. Add as many beads as you want.
By: Emily Warren