
Charcuterie Boards - Easy Holiday Entertaining
By Chelsea Gieselmann (@southrngritskitchen)
The tradition of charcuterie dates back to 15th century France, where butchers and artisans perfected the craft of curing and preserving meats long before refrigeration existed. What started as a practical way to extend the life of food eventually evolved into a celebrated culinary art. In the United States, charcuterie didn’t gain popularity until the mid 2010s, when food enthusiasts embraced boards as a creative, social way to dine. Since then, these spreads have transformed into elaborate, visually stunning displays of meats, cheeses, fruits, and just about anything your imagination allows, now a staple at gatherings and events.
Charcuterie boards and grazing tables may seem intimidating at first, but they’re often much easier to assemble than you might think, especially with the wide variety of ingredients available today. While an artistic eye helps, anyone can create a beautiful spread with a few simple tips. Even if you don’t consider yourself especially creative, you can design a breathtaking and delicious display of food art on your own.
Plan Ahead
Before you start shopping, ask yourself a few key questions:
• How many people will I be serving?
• Do any guests have food allergies or dietary restrictions?
• Will this be a light snack, an appetizer, or the main course?
• What’s my budget for the board?
• Am I using a wooden board, butcher paper, or do I have bowls and small dishes for dips, spreads, and pickled items?
Answering these questions first gives you a clear vision of what you need and makes shopping much easier.
Shopping
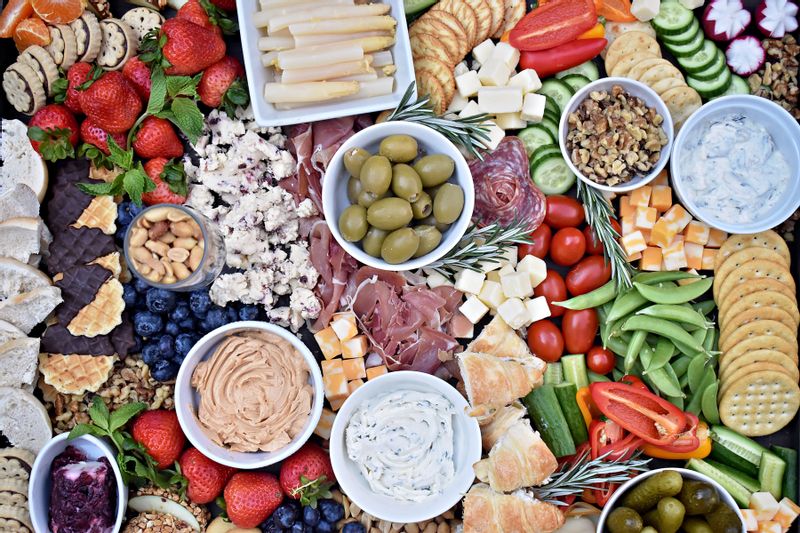
A traditional charcuterie board usually includes a balance of:
• Cheeses - a mix of soft, hard, and aged varieties
• Meats - cured and smoked selections
• Vegetables - fresh or pickled for color and crunch
• Dips & Spreads - jams, cream-based dips, or hummus
• Fruits - fresh or dried for sweetness
• Crackers & Breads - to tie everything together
• Sweet Treats - chocolate, honeycomb, or candied nuts for a finishing touch
As you shop, remember that pops of color make a board visually appealing. Fresh vegetables and fruits of different shapes and colors are perfect for this.
Prep Ingredients
• Pre-slice cheese.
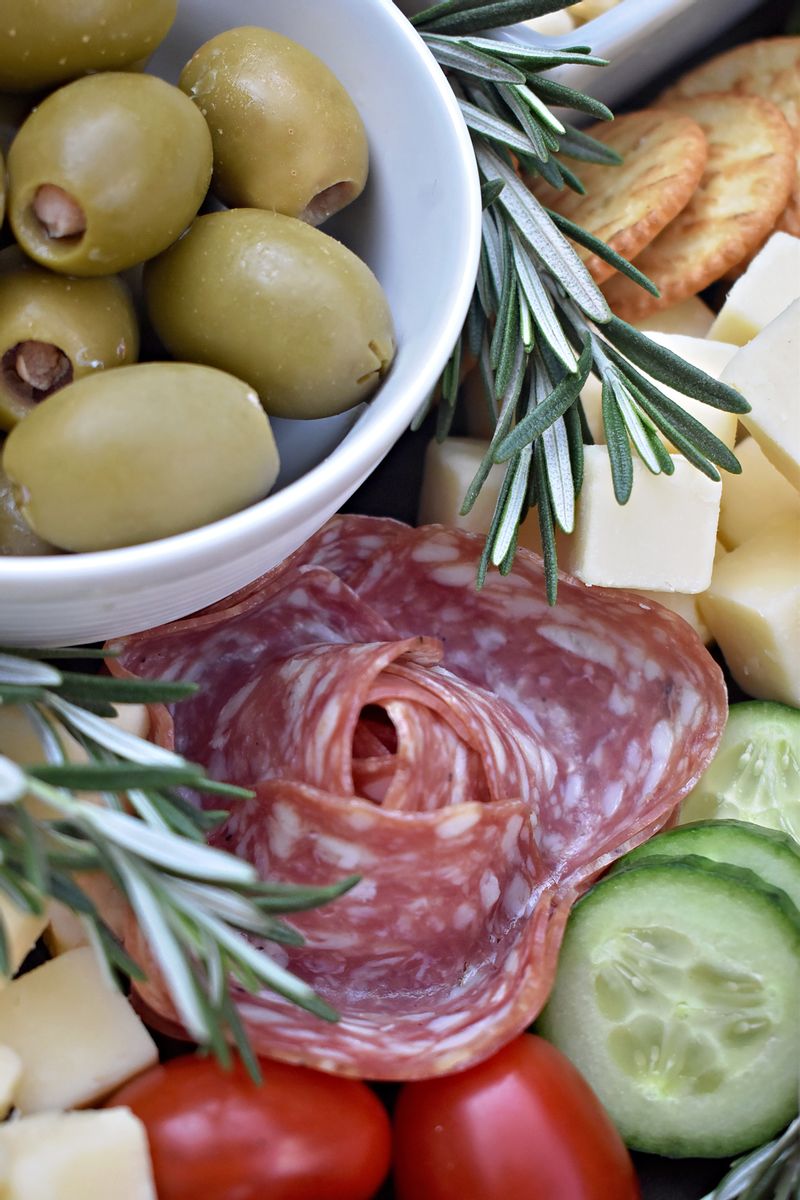
• Roll or fold cured meats for texture.
• Wash and dry fruits and vegetables.
• Portion spreads and dips into small bowls or ramekins.
• Place pickled items in separate ramekins.
Choose a Layout
• Start with anchor items. These might include bowls of pickles or dips, large wedges of cheese, a cheese ball, or creatively presented fruits, like a halved dragon fruit with the flesh scooped into balls and placed back in its shell. When arranging, design the board to flow naturally: start with savory, vegetable forward items on one end, and transition into fruits and sweet treats on the other.
• Build around your anchors with meats, crackers, and fruits.
• Fill gaps with nuts, herbs, edible flowers, and small candies. There shouldn’t be any empty spaces on your charcuterie board, abundance is key.
Final Touches
Once your board is assembled, take a moment to step back and look at it from all angles. Adjust as needed to balance color, texture, and height. Charcuterie is as much about the experience as it is about taste, inviting, abundant, and artfully arranged boards naturally draw people in and set the tone for a gathering. Remember, there’s no single right way to create a board; have fun, experiment with flavors, and let your creativity guide you.