
Snacks Perfect for A Day Trip with the Family
Fall is coming, and before the holidays sneak up, chances are you’ll be heading out on a weekend getaway, a visit to family, or maybe even a colorful leaf-peeping road trip. Whether it’s a couple of hours in the car on your way to grandma’s for Thanksgiving, a crisp fall weekend in the mountains, or a football road trip, one thing is certain: you’re going to need a backseat full of road trip snacks.
For many, snacks aren’t the first thing you think about when planning a trip. But if you’re stopping at gas stations and restaurants along the way, those quick bites can add up fast and often cost more than they would at your local store. Not only that, but the choices on the road usually aren’t the healthiest.
The best way to save money and time when traveling this fall is to bring your own snacks. Instead of waiting in long drive-thru lines or paying extra at convenience stores, pack a stash of favorites before you hit the road. You’ll not only cut costs but also have better options on hand, like fresh fruit, trail mix, or healthier foods to keep the autumn vibes strong.
By thinking ahead, you’ll stretch your travel budget further, enjoy healthier choices, and keep everyone happy and fueled up as you chase fall adventures.
Here are a few handy tips when planning your snack menu for your crew.
PLAN AHEAD
- Pack each individual's portioned treats in their very own lunch box.
- Focus on dry foods, cookies, chips, nuts, granola bars, popcorn, Chex Mix, etc.
- Pack a box of Ziplock bags and baby wipes.
- Try to stay away from foods that melt or may spoil.
- Grapes and other pre-cut fruits are great for traveling.
- Create your own lunchables for your kids by cutting their sandwiches into heart or star shapes with a cookie cutter. Add some fruit and cheese sticks. Pinwheel sandwiches make a fun presentation for your little ones too. Divided plates with lids are perfect to display your food art. I guarantee you will also create a smile.
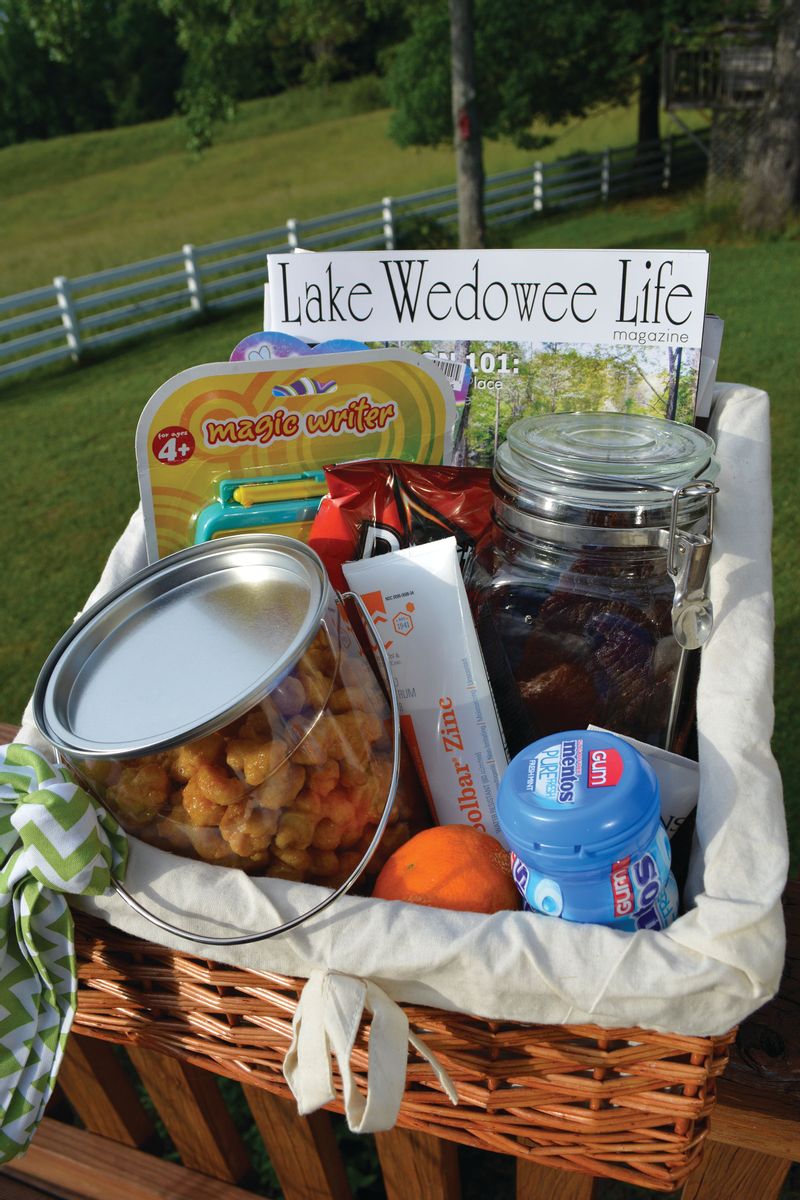
While these options can be purchased from the grocery store, how about opting to set aside some time and make your family's homemade favorites. Not traveling this year? Create a family road trip snack gift basket and present it to a family that has a trip planned. It's the perfect care package to send your loved ones off on the road with!
Let's ditch the drive-thru and stay clear of pricey gas station grub. These two snacks are simple to pack, easy to eat in the car and will keep you happy mile after mile.
Dr. Pepper Beef Jerky
One 3-pound bottom roast, trimmed of fat and silver skin
2 cups Dr. Pepper
1/2 dark brown sugar
1/4 cup soy sauce
3 tablespoons Worcestershire sauce
1 tablespoon smoked paprika
1 teaspoon unseasoned meat tenderizer
2 teaspoon freshly ground black pepper or coarse pepper, not finely ground
1 teaspoon red pepper flakes
2 teaspoon onion powder
2 teaspoon garlic powers
Slice the meat between 1/8 and 1/4 inch thick with the grain, or have your butcher slice it for you.
In a medium bowl, combine all other ingredients. Whisk until until combined and the sugar is dissolved. Transfer the sliced beef to a gallon sized Ziplock bag and pour in the marinade. Massage the marinade into the meat and refrigerate for 8-12 hours, or overnight. Flip the bag once or twice to be sure the meat marinates evenly.
Preheat your smoker to approximately 170 degrees F. For the woodchips, I recommend maple or cherry for this recipe. Remove the meat from the marinade and dry each strip thoroughly by laying on paper towels and patting dry. Transfer the strips to the well greased grill grate, jerky rack, or cooling rack and smoke for 2-3 hours (depending on the thickness of your slices, some thicker pieces can take 4-5 hours). Check often after the first hour to be sure your jerky is drying evenly. You are looking for jerky that is firm and still slightly pliable, but not soft. If you bend the jerky and it breaks, you've cooked it a little too long. Place the finished jerky in a gallon Ziplock bag while it is still warm. Don't seal it all the way. The jerky will steam in the bag slightly and this step will make the jerky moist. The jerky will last 3-4 days on the counter or 2 weeks in the refrigerator. If you want it to last longer out of the fridge you will need to add some curing salt to the marinade.
Note: If you do not have a smoker you can make this in your oven. Add 1 teaspoon of liquid smoke to the marinade and line two baking sheets with aluminum foil for east clean-up. Place a wire rack over each pan. Preheat the oven to 175 degrees and set two oven racks in the center positions.
Arrange the marinated meat on the wire racks in a single layer. Bake, rotating the pans from front to back and top to bottom midway through. until the meat is thoroughly dried out, 3 to 4 hours. To determine if the jerky is dried, take a piece out of the oven and let cool to room temperature. It should be dry to the touch, leather-like in appearance, and chewy but still somewhat tender.
Store the jerky inside an airtight plastic container or Ziplock bag.
Caramel Puff Corn
Preheat oven to 250 degrees.
2 sticks unsalted butter
1 cup light brown sugar
1/2 cup light corn syrup
1 6 oz bag puff corn(found in the chip aisle)
1 teaspoon baking soda
Pour puff corn in a large roasting pan or a large disposable aluminum pan. In a large saucepan, add butter, sugar, and corn syrup. Bring to a boil over medium low heat, stirring constantly. Once the mixture comes to a boil, cook for two minutes.
Remove from heat and immediately stir in baking soda until blended and the syrup becomes foamy. Carefully pour over puff corn and mix until well coated. Spread puff corn evenly in the pan. Bake for 45 minutes, thoroughly stirring every 15 minutes. Pour on parchment paper that has been lightly sprayed with oil. Spread with a spoon and break apart any pieces that stick together as it cools.
Store in an airtight container
Enjoy!
Lake Wedowee Life magazine
104 W Broad Street
Wedowee, AL 36278
256-403-7528
www.LakeWedoweeLife.com