Creating Memories That Can Hang on Your Tree
Last Updated 11/6/2024Posted in Southern Holiday Life

Tis the season... the season of family, friends, food and gifts. While I love the family, friends, and especially the food.. Nothing warms my heart more than the gifts. Gifts from a local shop or online are great, but my favorites are handmade with love and joy. I’m here to show you handmade gifts can be affordable and fun - and these Salt Dough Ornaments are a great activity for kids.

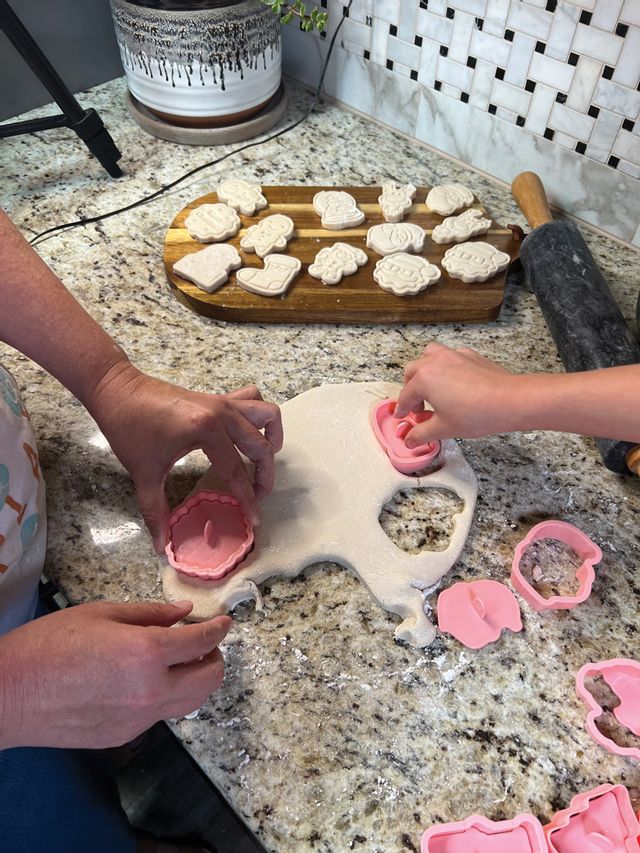
For my nieces, Makenzi, Juliana, and Brinley, being in the kitchen is nothing new. So of course they immediately jumped in and volunteered their services (ice cream bribes may have been involved as well). Brinley mixed the dough, Juliana rolled it out, and Makenzi ‘attempted’ to stamp the first ornament. This is when we learned that the dough was sticking to every surface and we were making more of a mess than actual ornaments. We tried cooking spray on the stamps with little to no luck and then I decided to add more flour to the counter top and on top the dough itself. This worked wonders!! Once we worked out all the kinks we continued stamping out ornaments until all we had left were crumbs (definitely not edible).

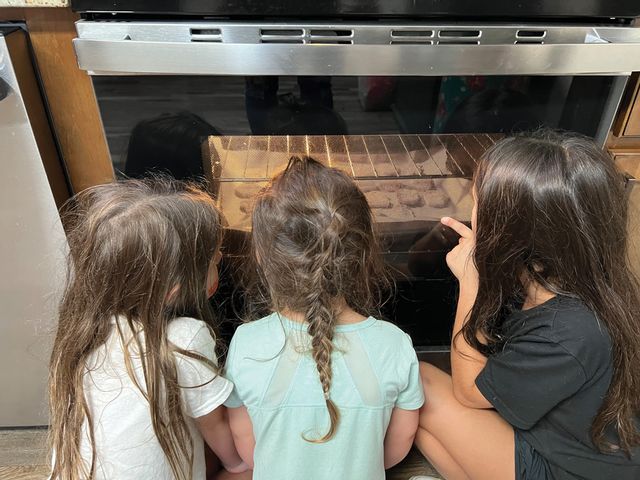
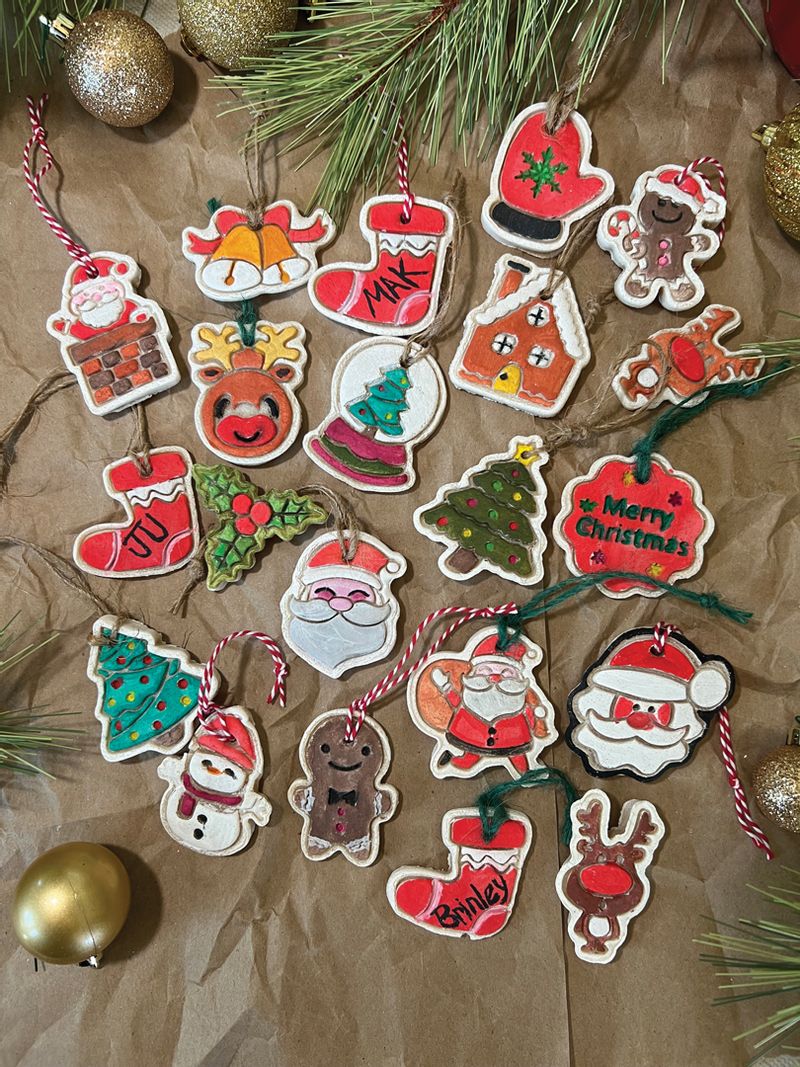
Once we were done, I placed them in the oven and they impatiently waited for them to dry so they could paint them. This is where creativity comes to play.. Each had their own style of painting but they all turned out beautifully. We used craft paint and watercolor paint (washable is best), with the watercolors being vibrant and easy to blend.

Who would have thought that just three simple ingredients, probably already in your pantry, could lead to a day full of fun and create lasting memories? These moments will be cherished not only in your heart but also displayed beautifully on you Christmas tree for years to come.

Traditional Salt Dough Ornaments Recipe
Equipment:

Stand mixer (this is helpful, but the dough can be kneaded by hand)

Cookie Sheet(s)

Parchment Paper

Cooling Racks

Cutters and Molds

Ingredients:

2 cups flour (plus additional flour for dusting) - keep the dusting in mind

1 cup salt

1 cup water

Instructions:

Mix flour, salt, and water in a mixer or by hand

Knead dough until it is smooth and no longer sticky

Turn dough onto a flour surface and roll out to your desired thickness(thinner ornaments will not do the best as they could curl while drying or not press out properly. Roll about ½ thick)

Cut ornaments with cookie cutters and/or cookie molds. If using intricately cut molds, dust with flour first - DO NOT skip this step!! I sprinkled a little flour on top of my dough before pressing).

Don’t forget to make your holes if they are hanging ornaments - you can use a toothpick, skewer, or a straw.

Put on a cookie sheet with some parchment paper and bake at 200 degrees for 2 hours.

Put on a cooling rack until completely cool.

Paint and then string your ornaments with any twine or ribbon of your choosing.

Note: To preserve these ornaments for years to come, put a layer or two of Mod Podge or spray a sealant on both sides of the ornament after drying/painting.



📍 Put Your Town on the Map

Let us know about your small town!

Lake Wedowee Tasting TourThere is something special about discovering a lake town that still feels authentic. Not polished to perfection. Not crowded with chain ...
Grab Your Roadmap! The 2026 Issue of Alabama Foodie is O... There is something truly magical about the back roads of Alabama. If you drive long enough through our rolling hills, past our shimmerin...
Please be careful about fake “local news” pagesWe want to make our community aware of a growing concern: AI-generated websites and Facebook pages are popping up that appear to be loca...
Eufaula Pilgrimage
Why the Eufaula Pilgrimage Still Feels Like Spring’s Mos... Thursday, Friday, Saturday and Sunday April 9 - April 12, 2026 Daytime Home Tours: 9:00 am - 4:00 pm (Friday and Saturday) Daytime Home ...